
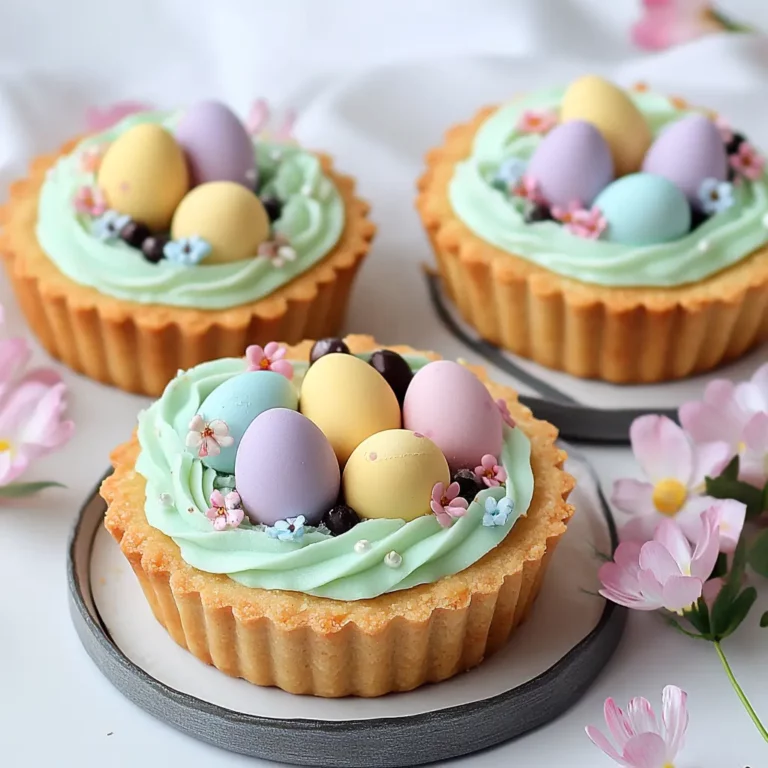
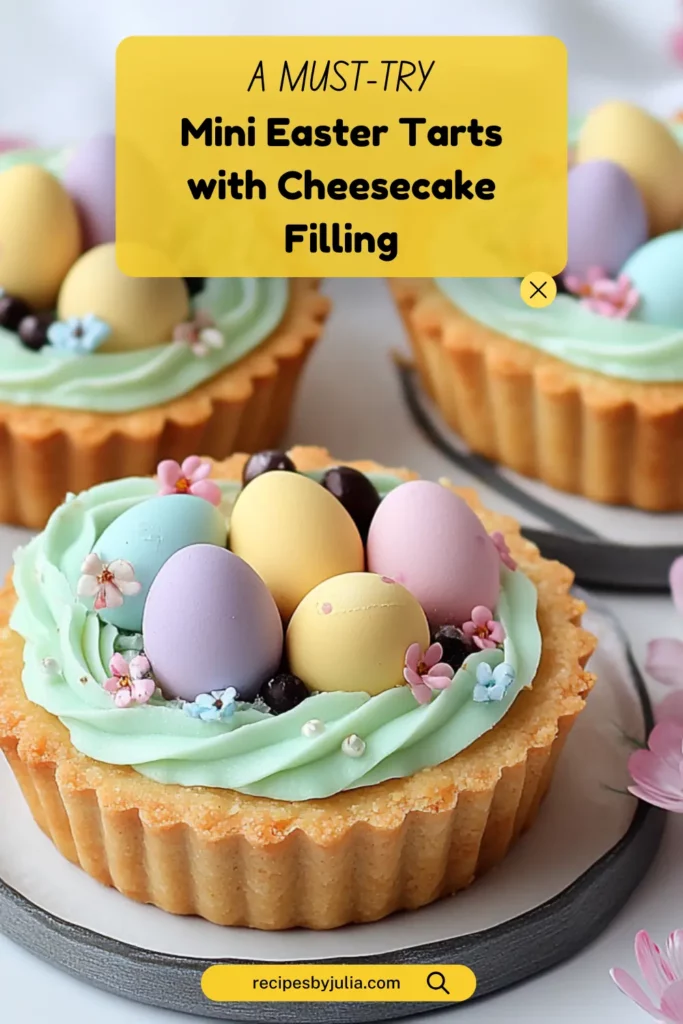
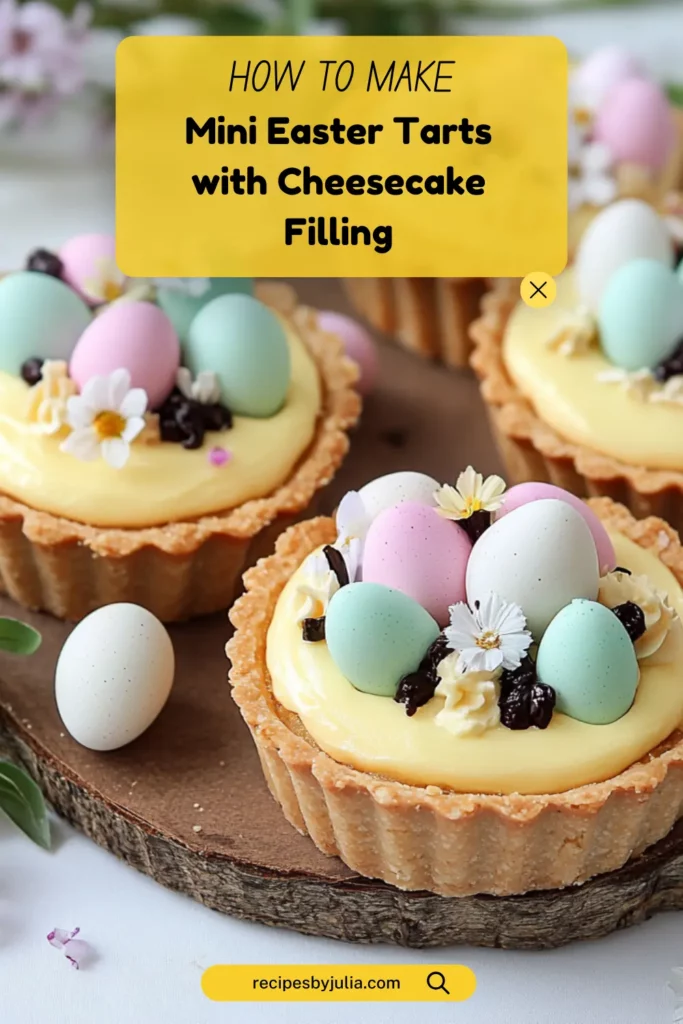
These Mini Easter Tarts with Cheesecake Filling are the perfect no-bake treat for your holiday celebrations! Featuring a buttery tart shell filled with a smooth and creamy cheesecake mixture, they’re topped with festive mini chocolate eggs or pastel sprinkles. They come together quickly and make a delightful addition to any Easter dessert spread.
What Are Mini Easter Tarts?
Mini Easter tarts are bite-sized dessert tarts with a rich and creamy no-bake cheesecake filling. The combination of a crisp tart shell and a smooth, lightly sweetened filling creates a perfect balance of textures. Finished with colorful decorations like chocolate eggs or pastel sprinkles, these tarts are an eye-catching and delicious Easter treat.
Why You’ll Love This Recipe
- No-bake and easy to prepare – Perfect for a fuss-free Easter dessert.
- Light and creamy filling – Made with whipped cream and cream cheese for a smooth texture.
- Festive and customizable – Decorate with mini chocolate eggs, sprinkles, or fresh fruit.
- Make-ahead friendly – Prepare in advance and chill until serving.

Ingredients
- 12 mini tart shells (store-bought or homemade)
- 200 g (7 oz) cream cheese, softened
- 50 g (½ cup) powdered sugar
- 1 tsp vanilla extract
- 100 ml (⅓ cup + 1 tbsp) heavy cream, whipped
- Mini chocolate eggs or pastel sprinkles, for topping
Step-by-Step Instructions
1. Prepare the Cheesecake Filling
In a mixing bowl, beat the cream cheese, powdered sugar, and vanilla extract until smooth and creamy.
2. Fold in the Whipped Cream
Gently fold in the whipped heavy cream, being careful not to deflate it. This creates a light and airy cheesecake filling.
3. Fill the Tart Shells
Using a spoon or piping bag, fill each mini tart shell with the cheesecake mixture, smoothing the tops.
4. Chill the Tarts
Refrigerate the filled tarts for at least 30 minutes to allow the filling to set.
5. Add Festive Toppings
Before serving, decorate each tart with mini chocolate eggs or pastel sprinkles for a fun Easter touch.
6. Serve and Enjoy
Enjoy these delightful mini Easter tarts chilled for the best flavor and texture!
Serving Suggestions
- Pair with a cup of hot tea, coffee, or fresh lemonade.
- Serve alongside a fruit platter for a refreshing contrast.
- Drizzle with a bit of melted chocolate or caramel sauce for extra indulgence.
Storing and Freezing
Storage Tips
- Store leftovers in an airtight container in the refrigerator for up to 3 days.
- Keep them chilled until ready to serve to maintain the creamy texture.
Freezing Instructions
- You can freeze the cheesecake-filled tarts without decorations for up to 1 month.
- Place them in an airtight container and thaw in the refrigerator before serving.
- Avoid freezing with toppings like mini eggs or sprinkles, as they may become soggy.
Recipe Variations
- Fruit Topping – Garnish with fresh berries or a drizzle of fruit puree.
- Chocolate Lovers – Add melted chocolate or cocoa powder to the cheesecake filling.
- Citrus Twist – Mix in lemon or orange zest for a bright, tangy flavor.
- Gluten-Free Option – Use gluten-free tart shells for a celiac-friendly version.
FAQs
Can I make these tarts ahead of time?
Yes! You can prepare them up to a day in advance and store them in the refrigerator until serving.
Can I use homemade tart shells?
Absolutely! You can make buttery shortcrust pastry tart shells for a homemade touch.
Can I use whipped topping instead of heavy cream?
Yes, but fresh whipped heavy cream provides the best flavor and texture.
These Mini Easter Tarts with Cheesecake Filling are the perfect treat for your holiday table! With a creamy no-bake cheesecake filling, a crisp tart shell, and festive toppings, they’re as easy to make as they are delicious. Try this simple recipe and impress your guests with a delightful Easter dessert!
Print
Mini Easter Tarts with Cheesecake Filling
- Total Time: 45 minutes
- Yield: 12 mini tarts
Description
These Mini Easter Tarts with Cheesecake Filling are a no-bake, bite-sized dessert perfect for Easter celebrations. With a creamy cheesecake filling inside a crisp tart shell and topped with festive mini chocolate eggs or pastel sprinkles, they’re easy to make and irresistibly delicious!
Ingredients
- 12 mini tart shells (store-bought or homemade)
- 200 g (7 oz) cream cheese, softened
- 50 g (½ cup) powdered sugar
- 1 tsp vanilla extract
- 100 ml (⅓ cup + 1 tbsp) heavy cream, whipped
- Mini chocolate eggs or pastel sprinkles, for topping
Instructions
In a medium mixing bowl, beat together the cream cheese, powdered sugar, and vanilla extract until smooth and creamy.
Gently fold in the whipped heavy cream, being careful not to deflate it. This creates a light and airy cheesecake filling.
Using a spoon or piping bag, evenly distribute the cheesecake filling into each mini tart shell, smoothing the tops.
Refrigerate for at least 30 minutes to allow the filling to set properly.
Before serving, decorate each tart with mini chocolate eggs or pastel sprinkles for a festive Easter touch.
Enjoy these delightful mini Easter tarts chilled for the best texture and flavor!
Notes
- Make-Ahead: These tarts can be made a day in advance and stored in the fridge until serving.
- Storage: Keep refrigerated in an airtight container for up to 3 days.
- Freezing: Freeze un-topped tarts for up to 1 month in an airtight container. Thaw in the fridge before serving.
- Customization: Add lemon zest, melted chocolate, or fruit toppings for extra flavor.
- Gluten-Free Option: Use gluten-free tart shells for a celiac-friendly version.
- Prep Time: 15 minutes
- Cook Time: 30 minutes
- Category: Dessert
- Method: No-Bake
- Cuisine: American
Nutrition
- Serving Size: 1 tart
- Calories: ~150 per tart (varies based on ingredients used)