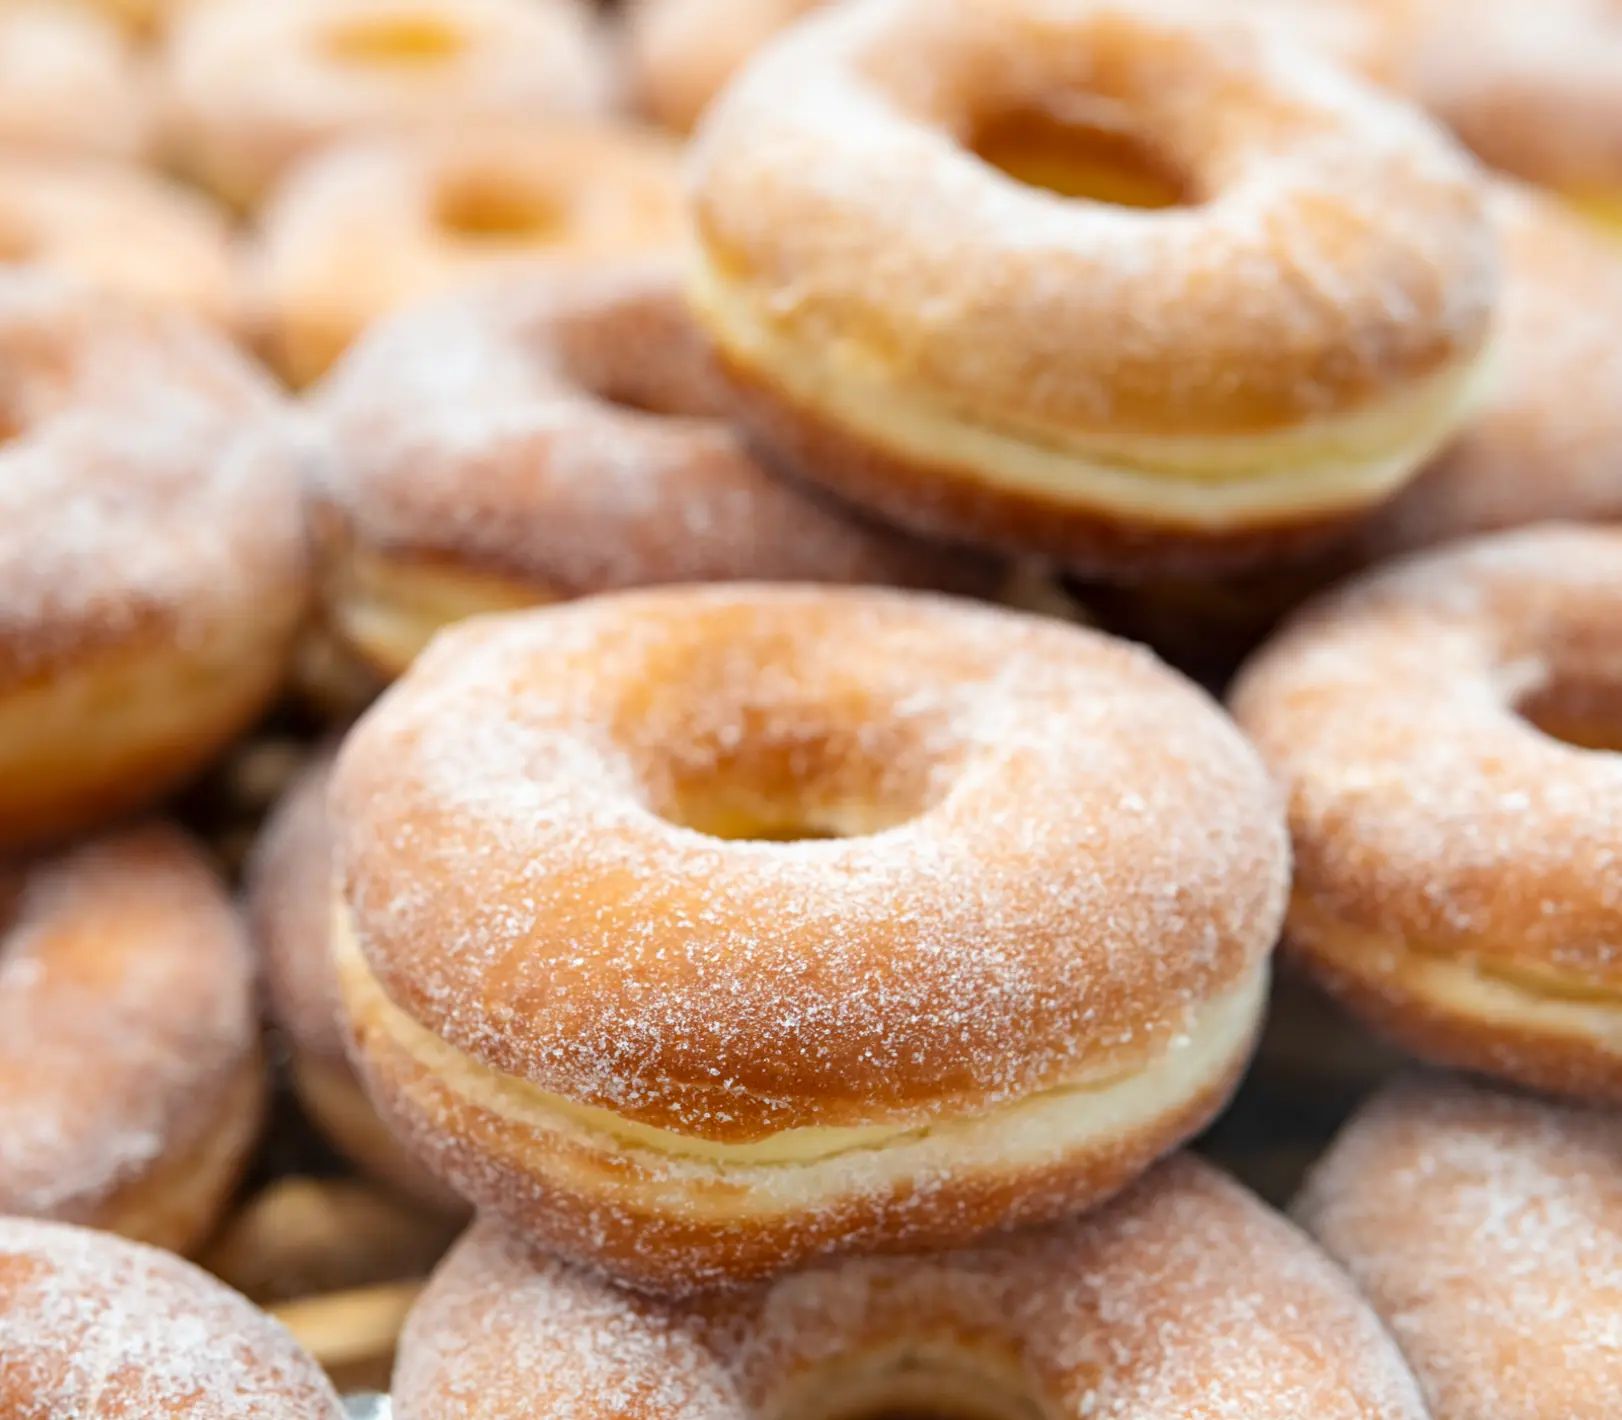
Indulge in the joy of making your very own homemade donuts with this delightful recipe! From the first step to the last bite, experience the satisfaction of creating these sweet treats right in your kitchen.
History and Origins
The exact origins of donuts are a bit hazy, but they’re believed to have roots tracing back to Dutch settlers in North America. The traditional donut we know today, with a hole in the center, is credited to Hanson Gregory, a young American who claimed to have invented the shape in 1847.
Tools and Preparation
To embark on this delightful donut-making adventure, gather these essentials:
- Large mixing bowls
- Donut cutter or round cookie cutters
- Baking sheet
- Slotted spoon
- Deep pan or fryer
- Clean kitchen towels
- Parchment paper
This recipe comfortably serves 6 people and takes approximately 2-3 hours from start to finish, including rising time.
Ingredients and Substitutes
To create the perfect classic donut dough, gather these precise ingredients:
- 2 1/4 teaspoons (1 packet) active dry yeast
- 1 cup warm milk (about 110°F or 45°C)
- 1/4 cup granulated sugar
- 2 large eggs
- 1/4 cup unsalted butter, softened
- 4 cups all-purpose flour
- 1/2 teaspoon salt
- Oil for frying (vegetable, canola, or peanut oil)
Substitutes can be used for specific dietary preferences or restrictions:
- Almond milk for regular milk
- Coconut sugar for granulated sugar
- Vegan butter for unsalted butter
- Gluten-free flour for all-purpose flour
Steps to Prepare Classic Donut Dough
Let’s dive into the step-by-step process of crafting these delectable donuts:
- Activate Yeast: In a small bowl, combine warm milk and sugar. Sprinkle yeast over the mixture and let it sit for 5-10 minutes until frothy.
- Mix Wet Ingredients: In a large mixing bowl, beat the eggs. Add softened butter and the activated yeast mixture, stirring to combine.
- Combine Dry Ingredients: In another bowl, sift flour and salt. Gradually add this dry mixture to the wet ingredients, stirring until a dough forms.
- Knead: Lightly flour a clean surface and knead the dough for 5-8 minutes until smooth and elastic.
- First Rise: Place the dough in a greased bowl, cover with a kitchen towel, and let it rise in a warm place for 1-1.5 hours until doubled in size.
- Roll and Cut: After rising, gently punch down the dough and roll it to 1/2-inch thickness. Use a donut cutter or round cookie cutters to cut out shapes, including holes for classic donut shapes.
- Second Rise: Place the cut-out donuts on a baking sheet lined with parchment paper. Cover loosely with a kitchen towel and let them rise again for 30-45 minutes.
- Fry: Heat oil to 350°F (175°C) in a deep pan or fryer. Carefully fry donuts for 1-2 minutes on each side until golden brown. Use a slotted spoon to remove and drain excess oil on paper towels.
- Glaze or Coat: Once cooled, glaze with powdered sugar, dip in cinnamon sugar, or coat with melted chocolate.
Top 4 Mistakes to Avoid
1. Overworking the Dough
Excessive kneading can make the donuts tough. Knead until just smooth and elastic to avoid this.
2. Skipping the Rising Time
Proper rising is crucial for the right texture. Rushing this step may result in dense donuts.
3. Incorrect Oil Temperature
Ensure the oil is at the right temperature; otherwise, the donuts may absorb too much oil or cook unevenly.
4. Crowding the Frying Pan
Overcrowding can lower the oil temperature, leading to greasy donuts. Fry in batches for the best results.
FAQs
Q1: Can I refrigerate the dough overnight?
A1: Yes, refrigerating the dough slows the rising process. Cover tightly and let it sit at room temperature for about 30 minutes before shaping and frying.
Q2: How can I store leftover donuts?
A2: Store in an airtight container at room temperature for up to 2 days. Reheat briefly in the oven before serving.
Q3: Can I bake instead of frying?
A3: While frying yields the classic texture, you can bake at 350°F (175°C) for 10-12 minutes for a healthier option.
Q4: Can I freeze the donuts?
A4: Yes, freeze unfrosted donuts in a sealed container for up to 2 months. Thaw at room temperature and decorate as desired.
Q5: Can I use a different glaze?
A5: Absolutely! Experiment with various glazes like maple, chocolate, or fruit-flavored ones to suit your taste.
Conclusion
Homemade donuts offer a delightful experience for both the maker and the lucky individuals savoring them. With this comprehensive guide, you’re equipped to create these delectable treats right in your kitchen. Enjoy the process and relish every bite of your freshly made classic donuts!